Connecting Shopify to Framer
Connecting Shopify to Framer
Beginner
Launch
2:40
Before you start you'll need a Shopify custom app and its Storefront API token. Creating Your Shopify App covers that.
How to connect Shopify to Framer
1. Open the Frameship plugin
Go to the Framer CMS, then Plugins, and launch Frameship.
2. Create your collection
Make a new collection and name it. "Frameship" works fine.
3. Sync your products
Click Sync. Your Shopify products land in Framer.
💡 Important: Products don't update on their own. Apart from stock count, every change in Shopify needs a manual Sync from the Framer CMS.
4. Build your product pages
Create a page and link it to your Frameship collection as a CMS detail page. Products have to live on a CMS detail page or the cart won't work.
Common questions
How do I connect my Shopify store to Framer?
Install the Frameship plugin, open it from the Framer CMS, and create a collection. Click Sync and your Shopify products are in Framer, ready to place on a CMS detail page.
Do my products update automatically when I change them in Shopify?
No, apart from stock count. Edit a product or add a new one, then press Sync in the Framer CMS.
Do I need to write any code?
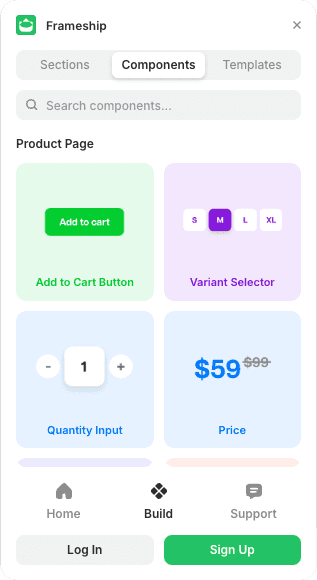
No. Frameship is a Framer plugin. Connect your store once, then add the components to your pages.
Why isn't my cart working?
Your products need to be on a CMS detail page linked to your Frameship collection. On an ordinary page, cart and checkout won't behave. Troubleshooting Common Issues covers the rest.