Setting Up Your Cart
Setting Up Your Cart
Beginner
Launch
2:00
How to add a cart to your Framer site
1. Open the plugin
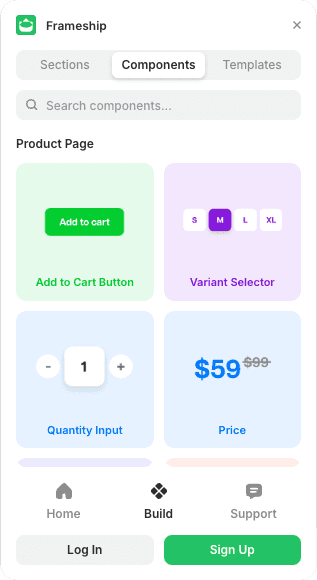
In Framer, go to Plugins and open Frameship.
2. Insert the cart
Go to Components, then the Cart tab. Drag the Cart Component onto your canvas.
3. Unlink it to customise
Double click the cart component and unlink the instance. Inside you'll find the Cart Button and the Cart Layer. Double click the Cart Layer and unlink that too. Now you can restyle it.
4. Style it
Every part of the cart is editable. Colours, fonts and spacing in the Cart Product List can all match your brand.
💡 Important: The cart won't work in preview or on a published site without a paid license activated.
Common questions
Why isn't my cart working?
Nine times out of ten it's the license. The cart needs a paid license activated before it works in preview or on a published site. Connecting Your License covers that.
Can I change how the cart looks?
Yes. Unlink the cart instance and the cart layer, then style any part of it like a normal Framer component.